I just updated this post with the details of the new Radio-Controlled remote that I added to this shed lighting project at the end of the post.
A long while ago, I had a shed built to house the usual collection of gardening tools, mower, and general yard and pool “stuff.” It sits about 30 or 40 feet from my electrical box, and a local electrician quoted me $1000 to run power out to it so I could have light in there at night. I solved the problem a different way, and for WAY less money.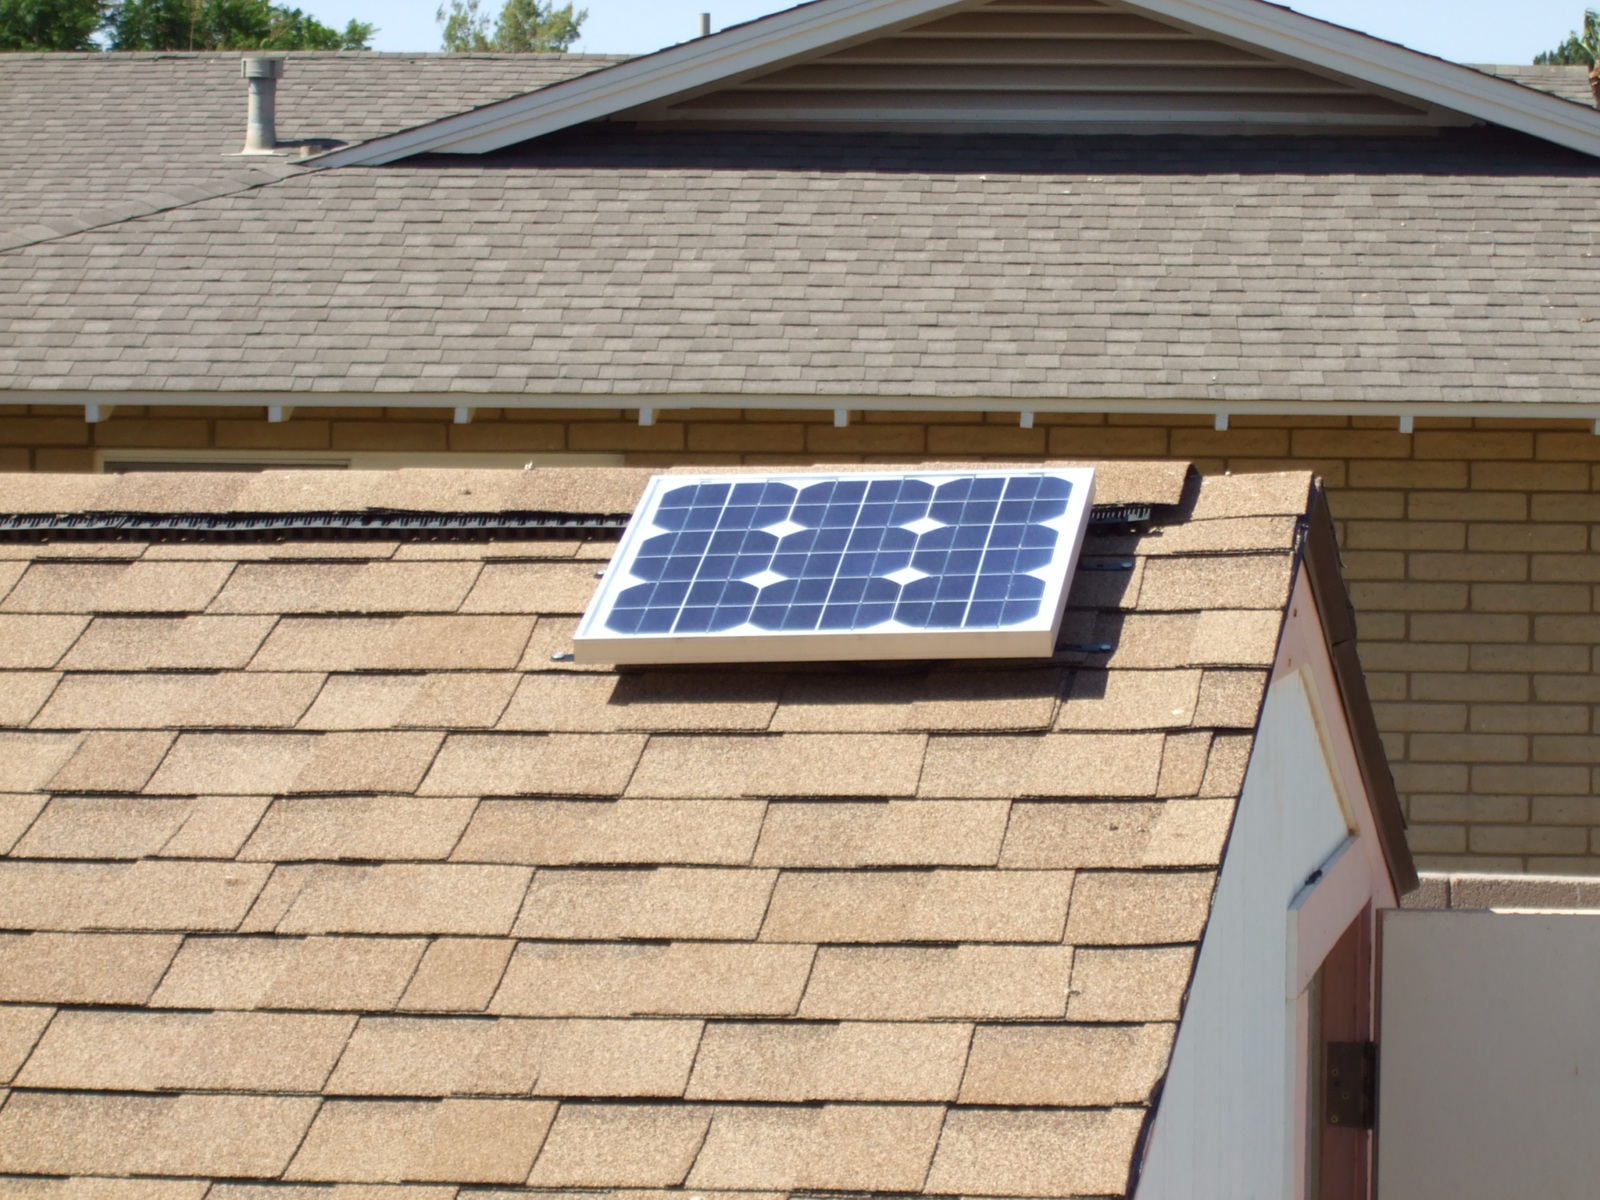
Yes, I went solar! With a few easily obtainable components, mostly from Amazon, I put together a combination solar charger, battery storage, LED bulb lighting system that has exceeded my expectations. Additionally, I added a tap from the output of the charge regulator with an extension cord and use it to keep the garden tractor battery charged in the off season, so it starts right up when the grass grows again in the spring.
So, here’s a picture article on the components and a few hints if you want to duplicate my setup or use it to motivate one of your own design.
Parts you will need;
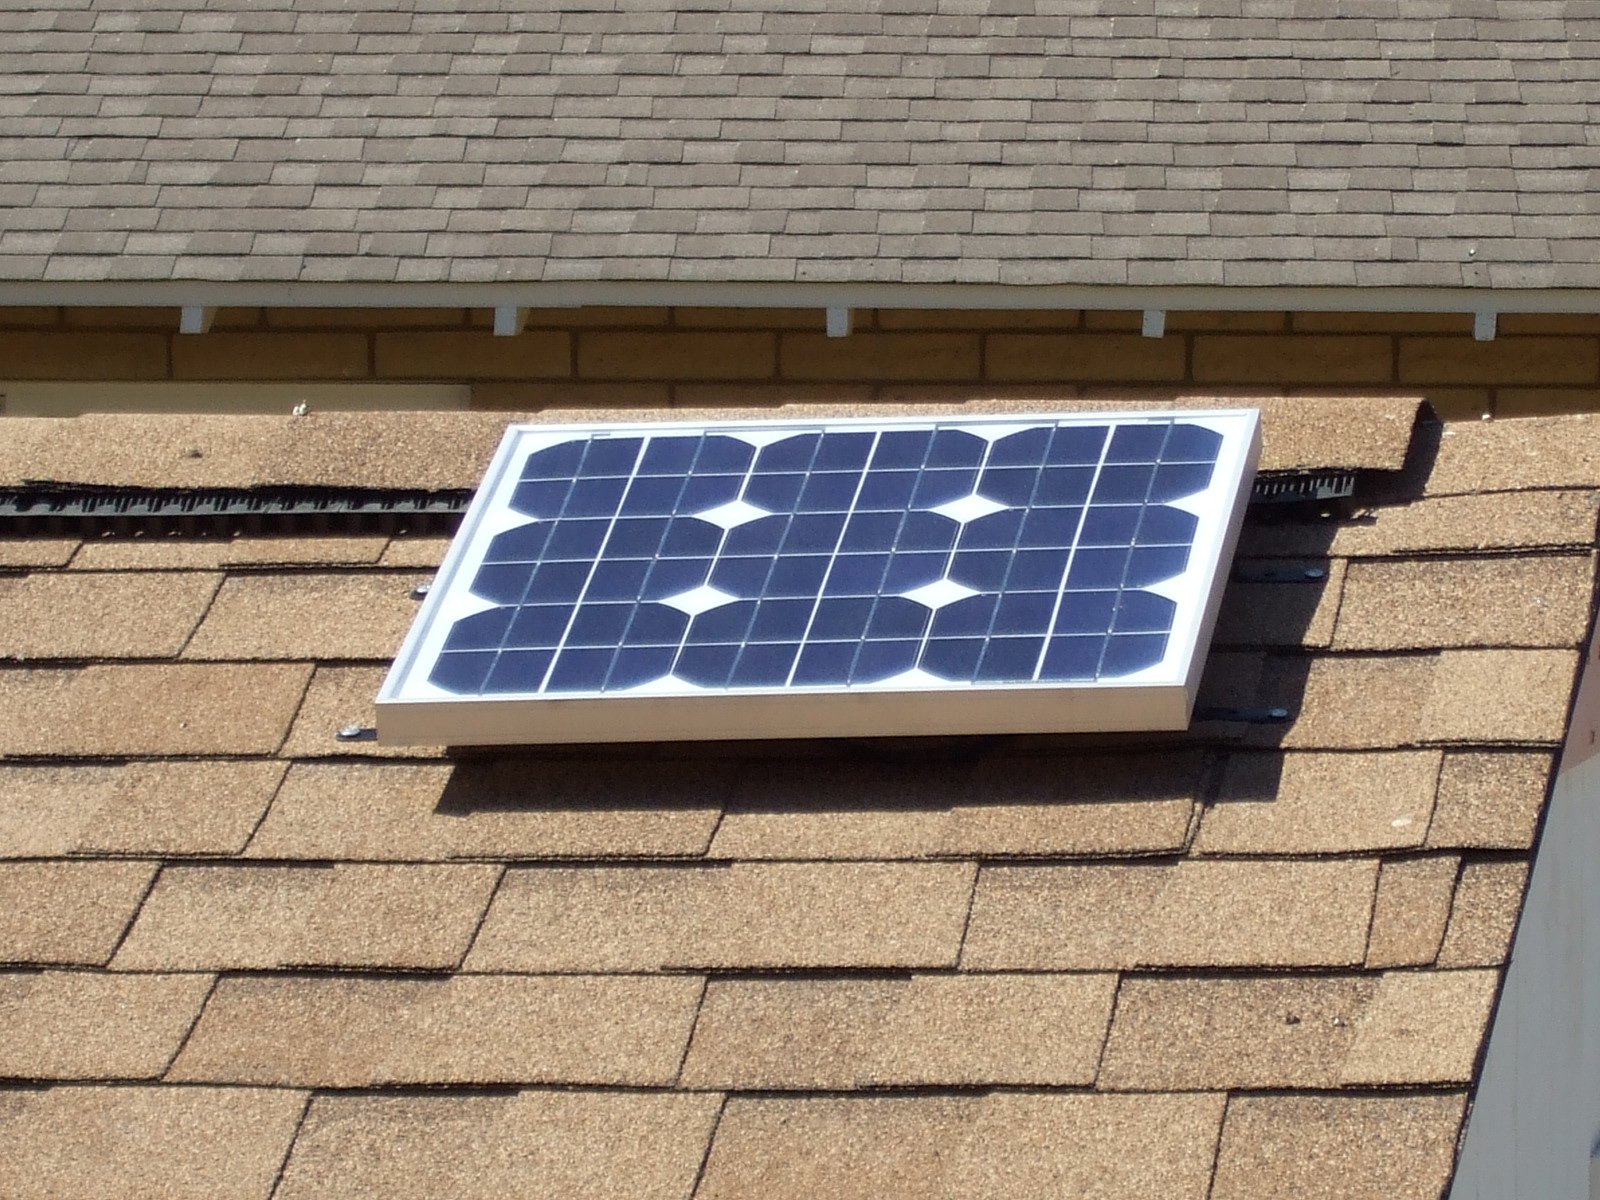
This 20 Watt “Monocrystaline Silicone Solar Photovoltaic Module” is made by HQRP, and is in a sturdy glass and aluminum sealed frame. It is still available from Amazon for around $70, but can also be found elsewhere. Actually, any array rated at about 1 to 1.5 Amps at 12 Volts will work fine. Just be sure it is built to withstand the elements in your area. This is the most expensive part of your installation, so don’t skimp here. This one has been up and working for me for 4 years already.
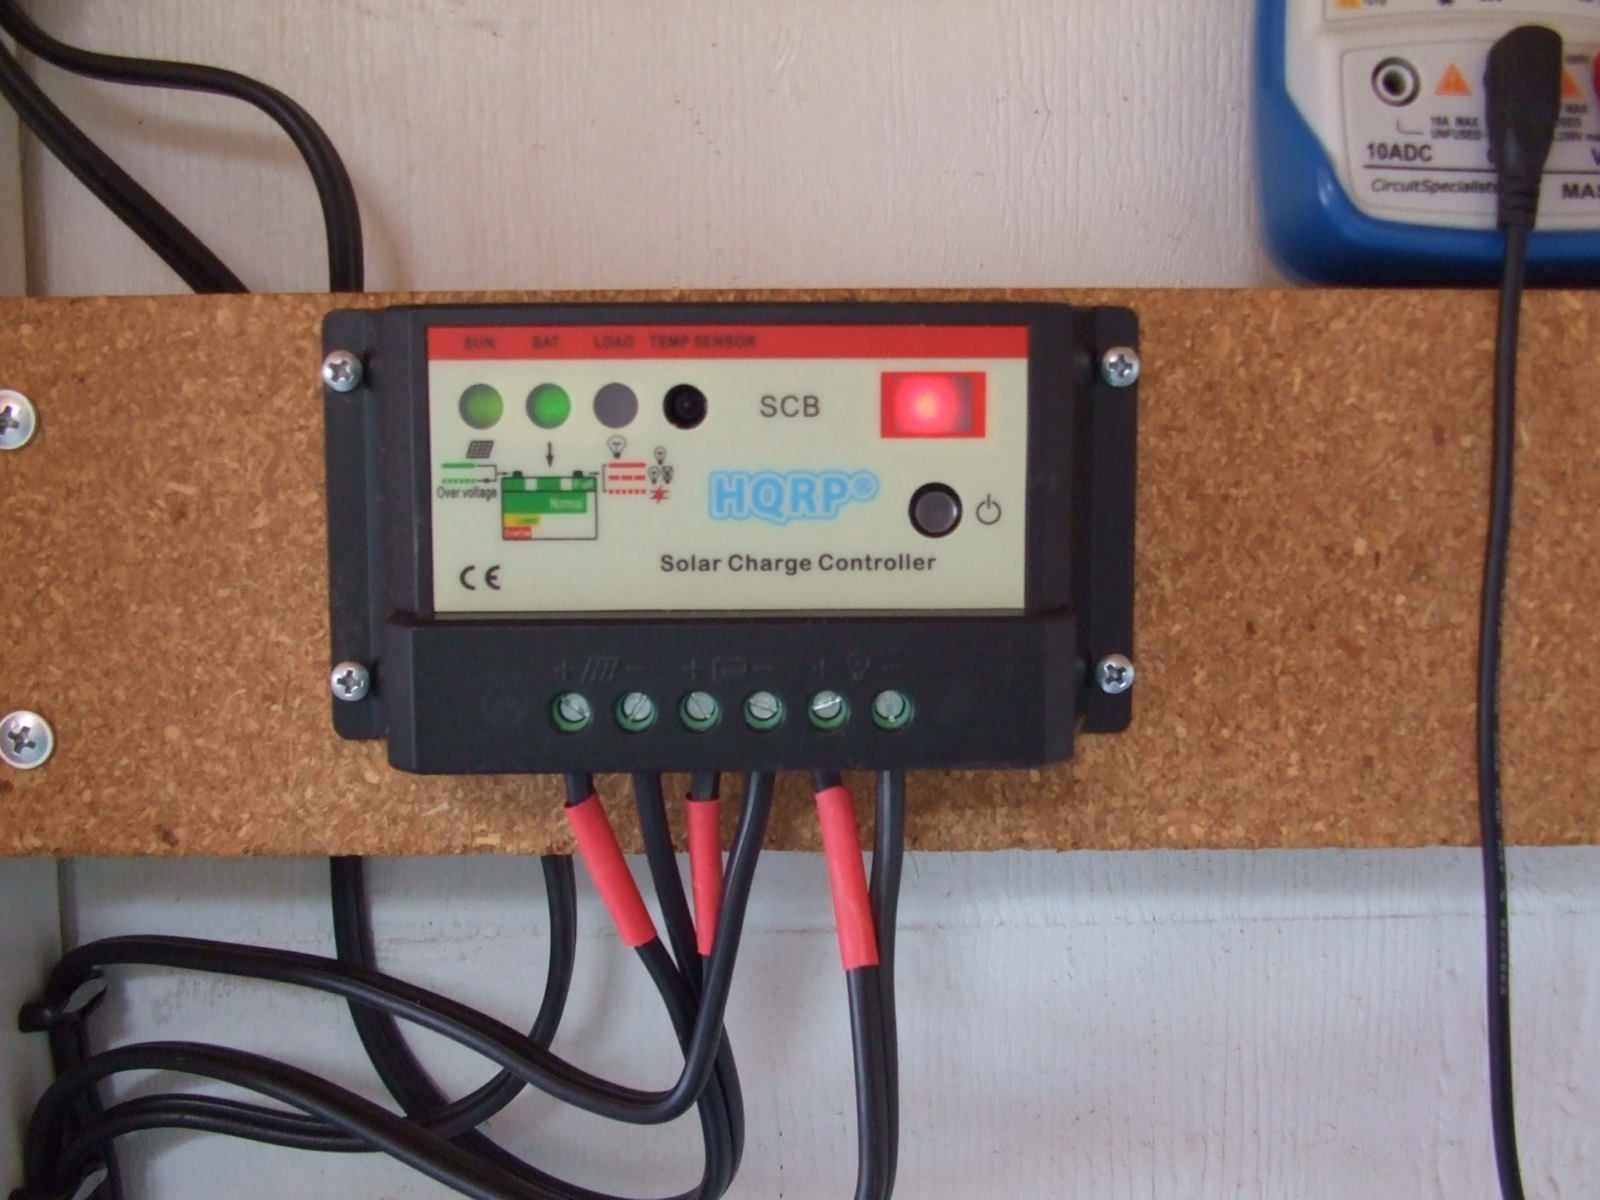
You will need a device to route the solar array current and limit the charging of your storage battery (or batteries). This simple charge controller, also from HQRP, is available for under $25, and will handle up to 10 Amps, which is way more than your solar cell can ever generate. This assures that it will never risk being overloaded.
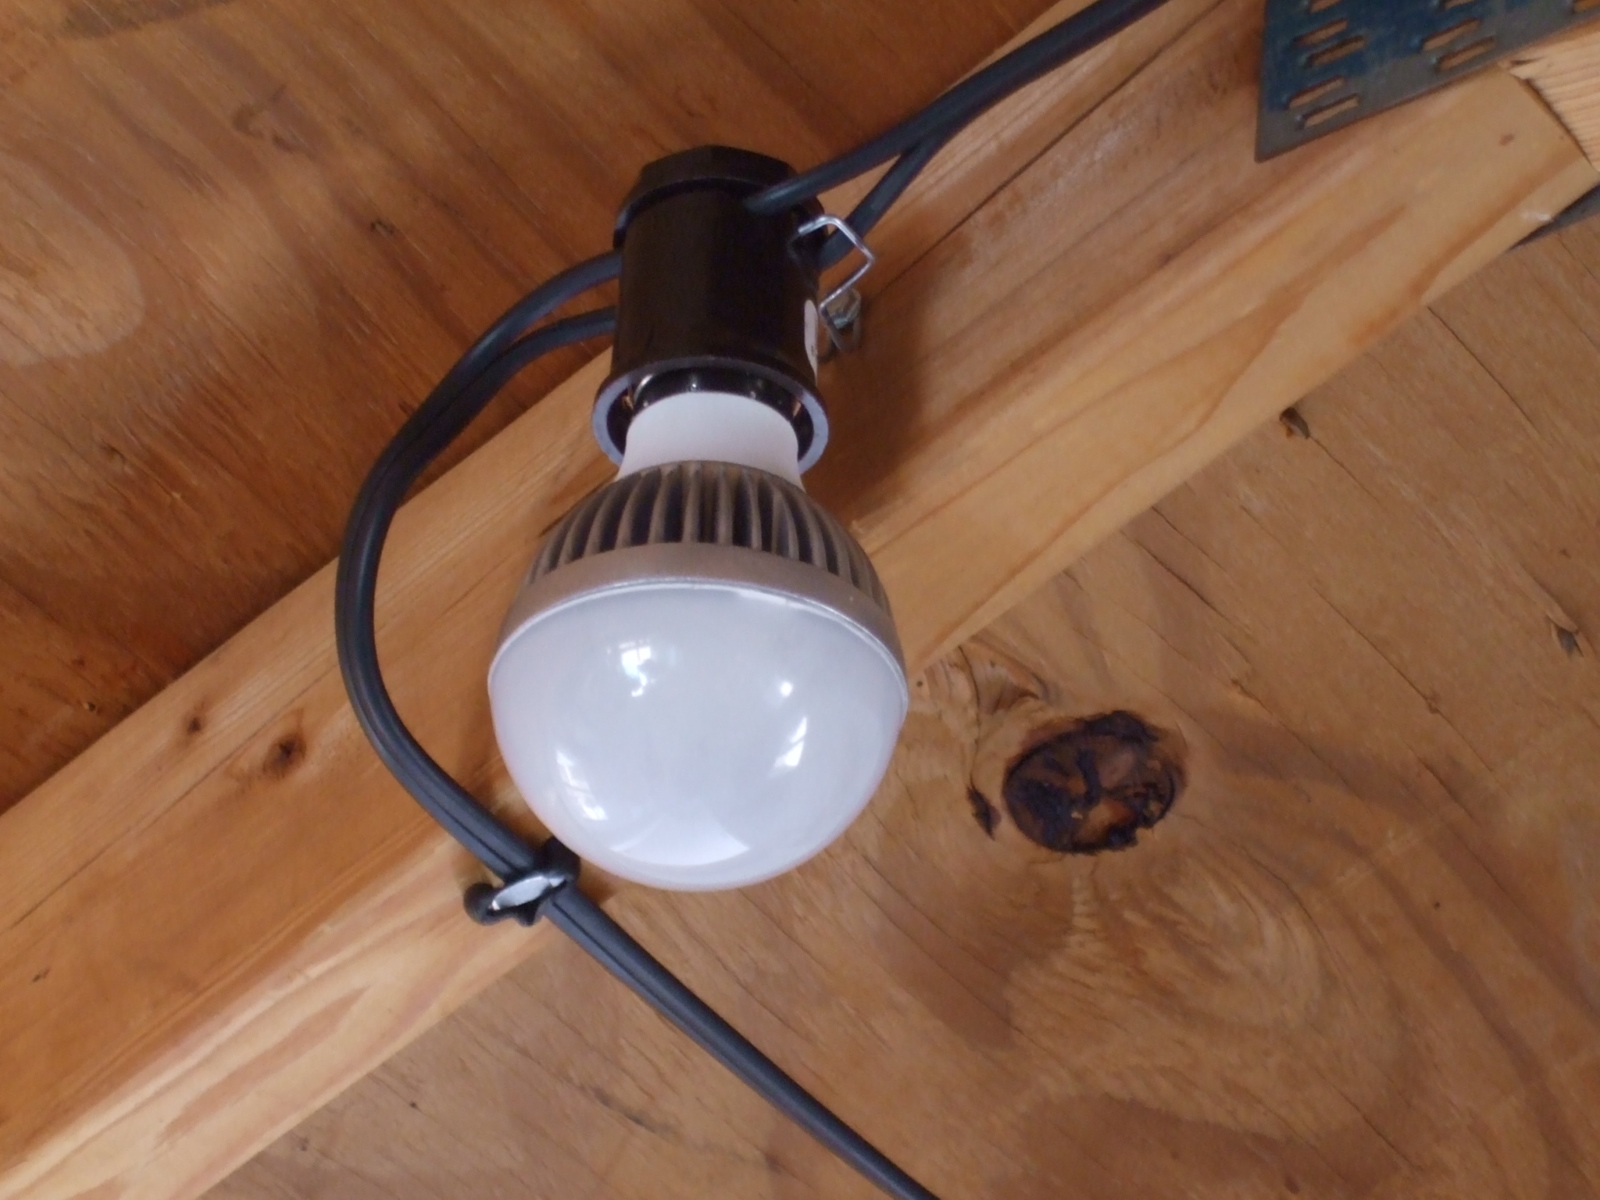
Next, you need some 12 Volt LED “bulbs.” I used Two bulbs that were sold for RV or camper use on 12 Volt lighting systems, which then allowed me to use “standard” bulb sockets, but today, your choices in 12 Volt lights is virtually limitless. The sockets are from Home Depot, and they mount with a simple wire clip to the rafters of the shed. You could use typical porcelain sockets, or even different lights, and your installation might be different in this respect.
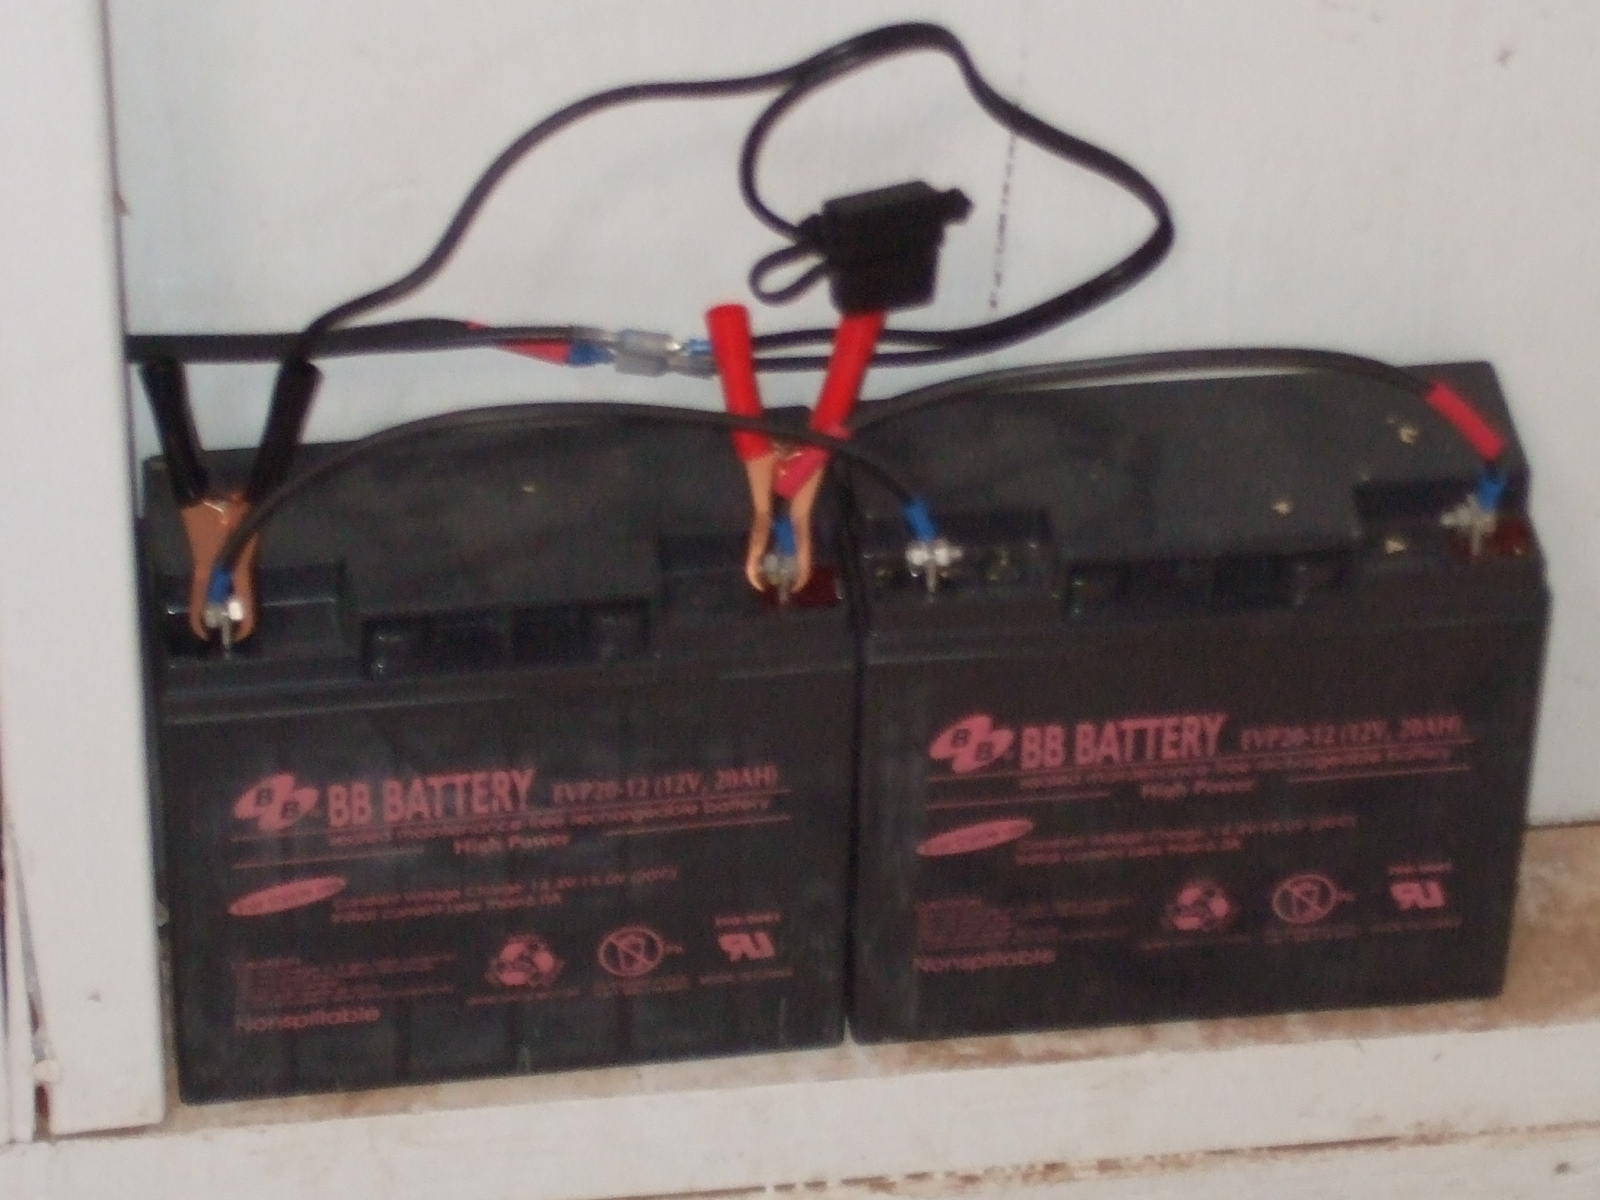
Then, you need a storage battery or batteries. ANY old 12 Volt batteries will work, although if you use an old car battery, it will outgas and the fumes might cause corrosion to metal items you are storing in the shed. Best choice is a SLA (Sealed Lead Acid) battery like the ones used in alarm back-up power supplies or, like I used, a pair of old electric scooter batteries that didn’t hold enough to give the scooter good range anymore, but work perfectly for this low amperage application.
The alligator clips are another nice quick touch, and they are also easy to find online, with the typical “trailer” 2 prong rubber quick disconnect that I used throughout this project to assure the greatest ease and flexibility. I do caution you though, be very careful and aware of all your polarity hookups. One connector installed backwards can create an expensive failure. Also, notice the fuse holder near the batteries. It’s part of that alligator clip harness, and is a really good idea. Safety first, always!
Next, you need a bunch of wire. I used the two conductor wire from an old landscape (Malibu Lights) lighting set. But, at these low currents, almost any flexible copper 2 conductor wire will work.
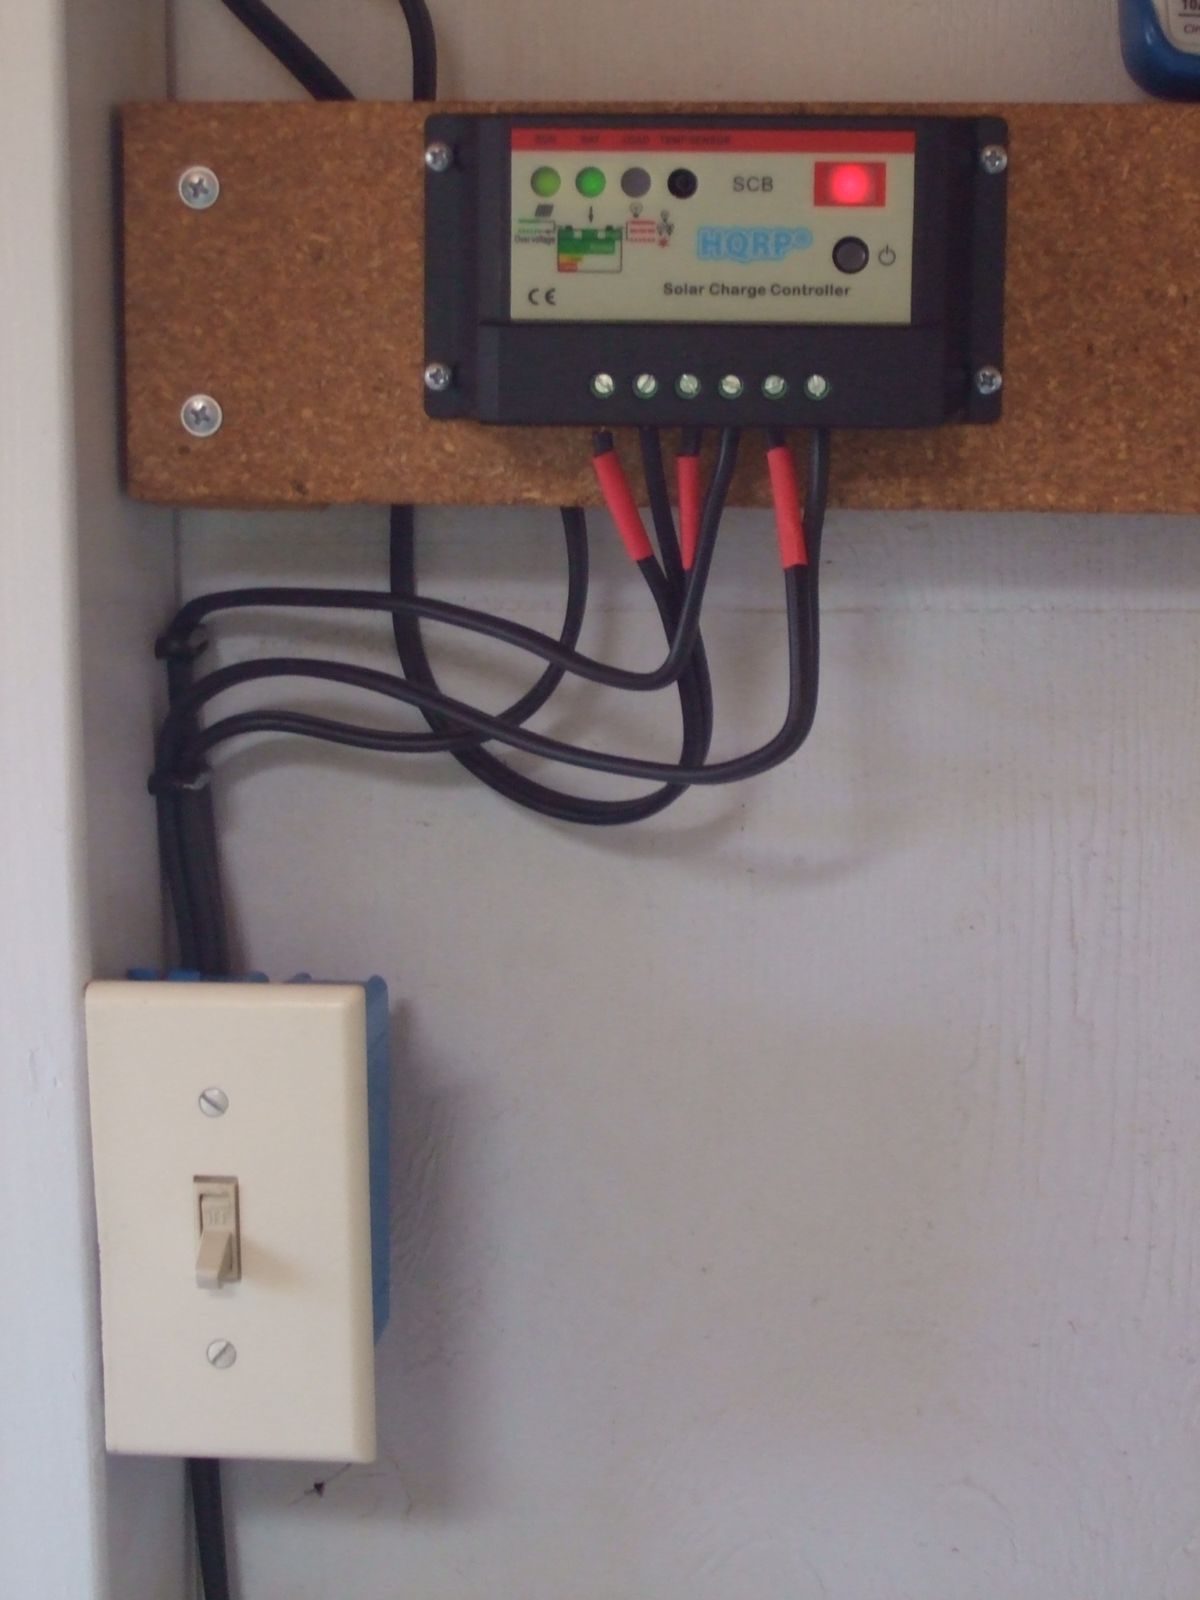
Of course, you will need an on/off switch. I used a standard electrical box and a 110 V household switch for a more conventional look, but even a nice automotive push button or rocker switch works just fine.
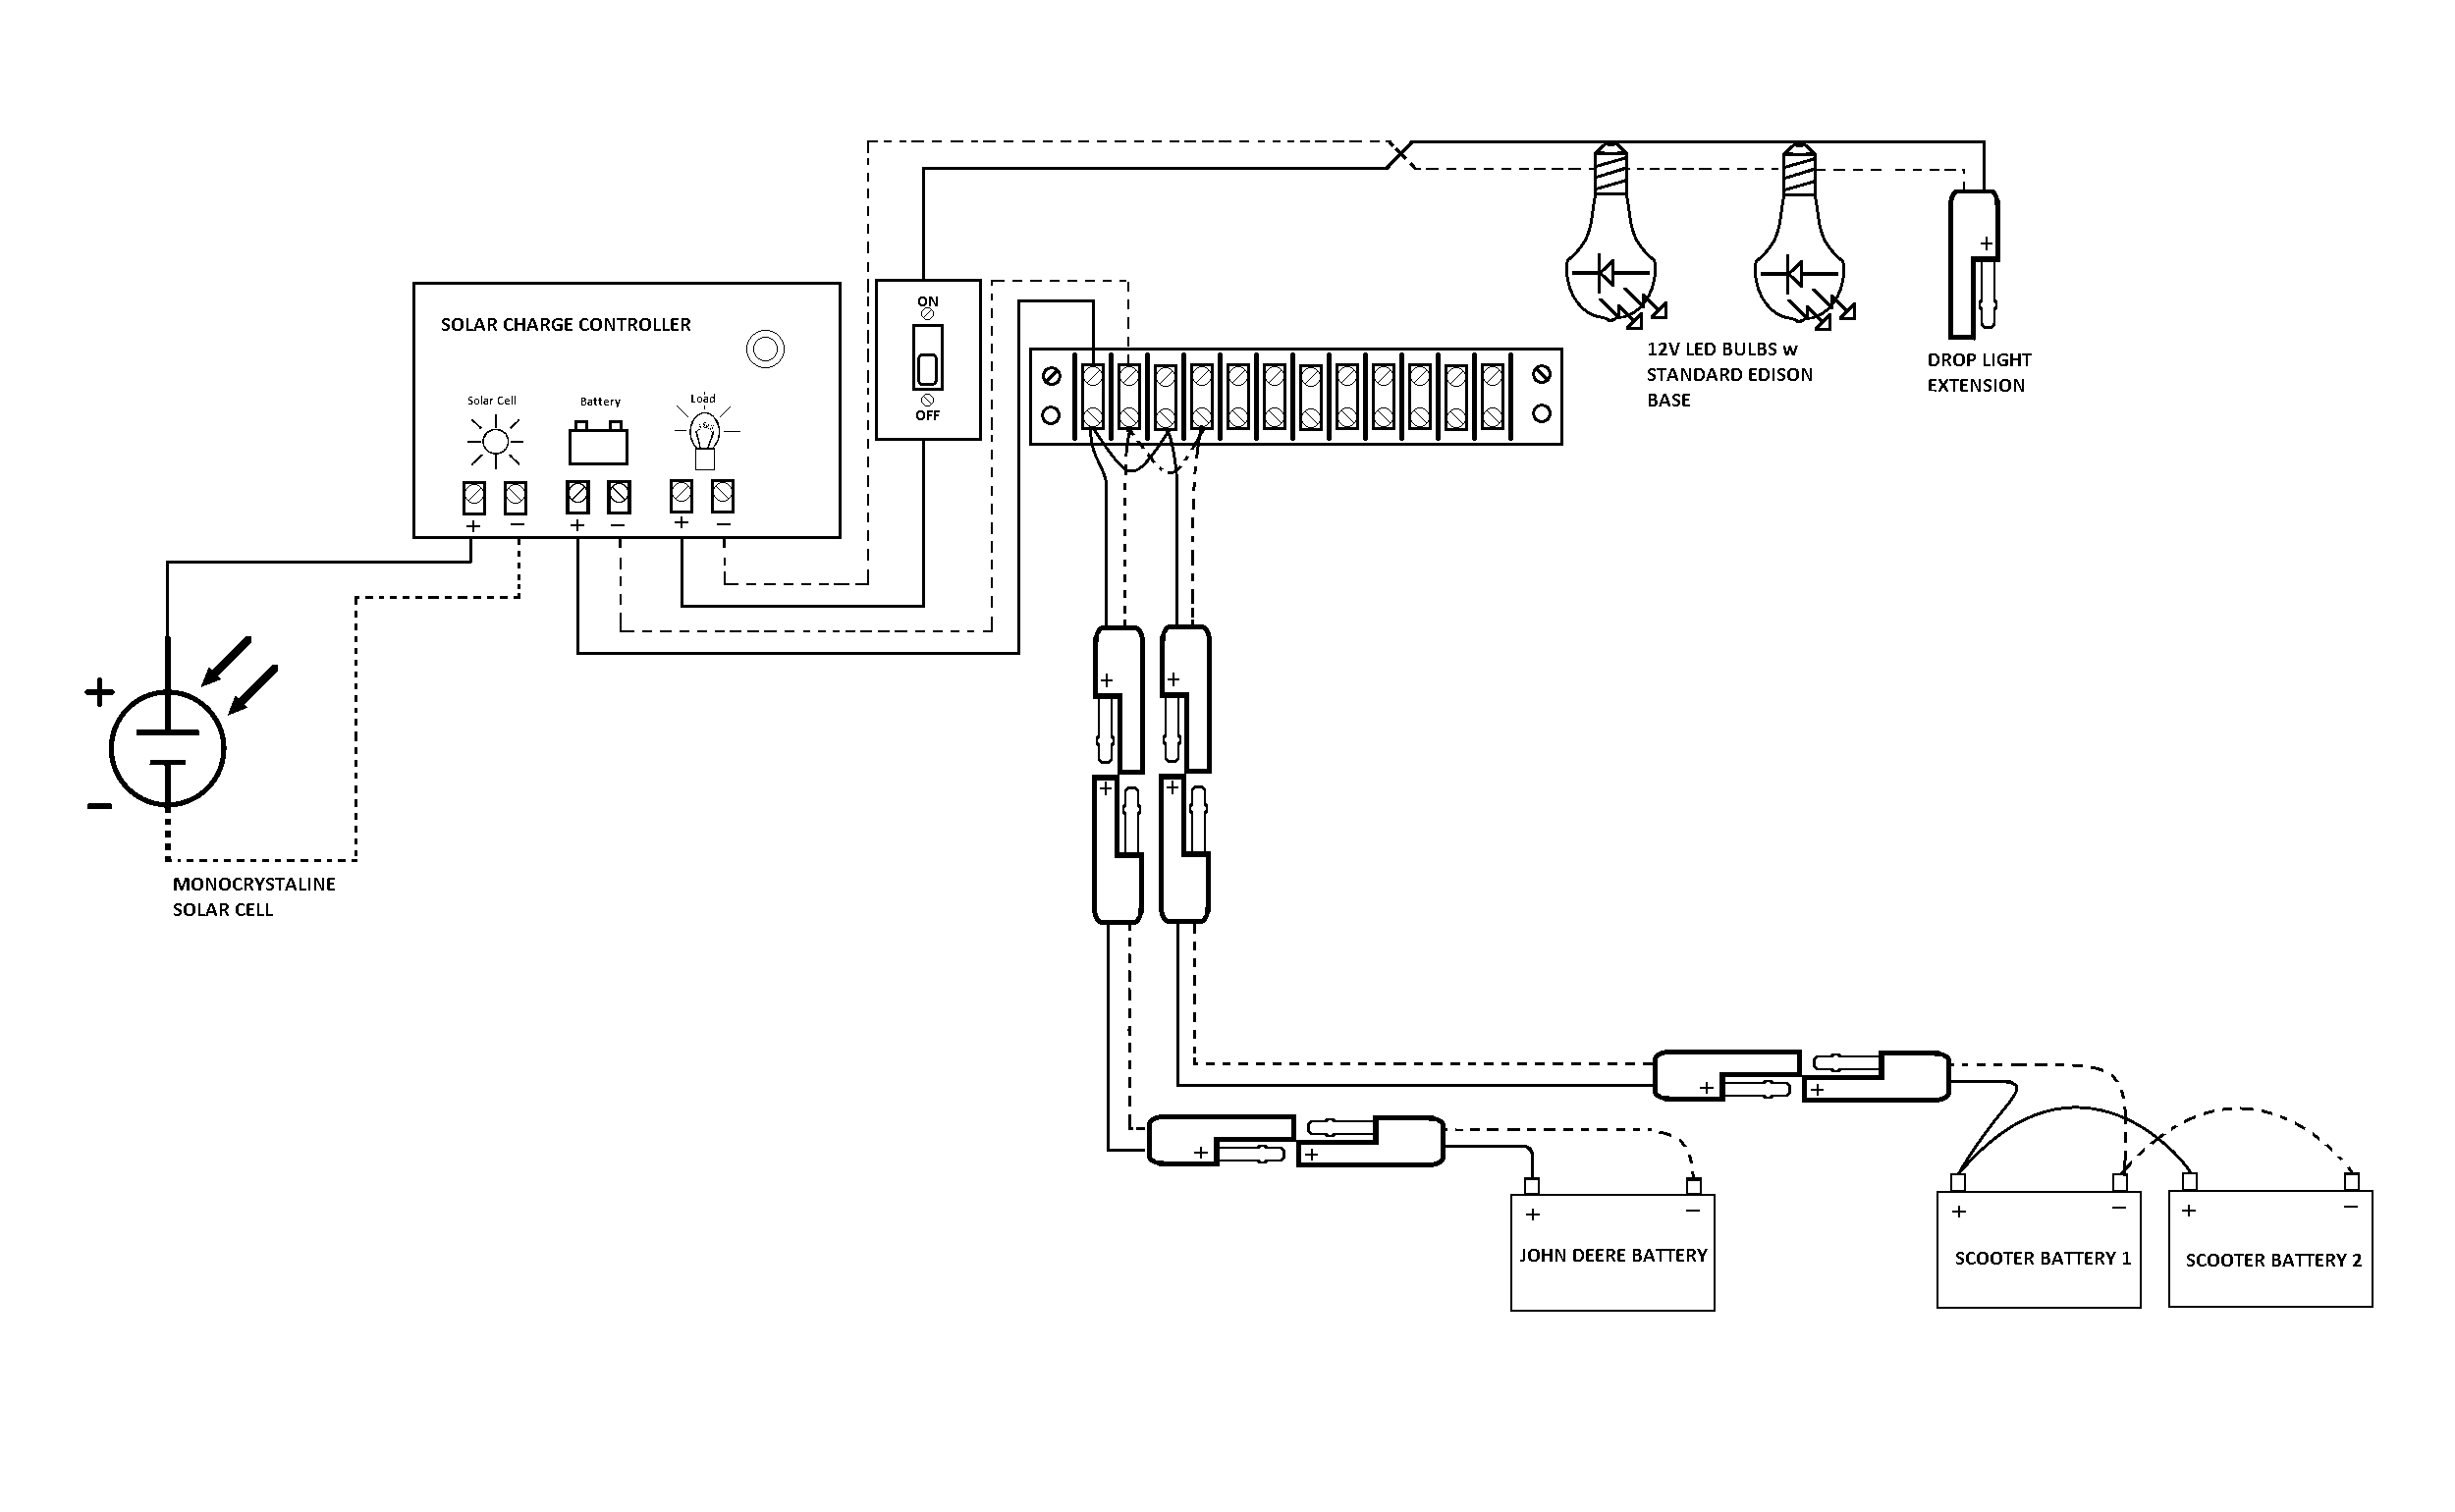
There is absolutely no concern about the “exposed” wiring, as it’s all low voltage 12 Volt circuitry. So, here is the wiring diagram for my whole project.
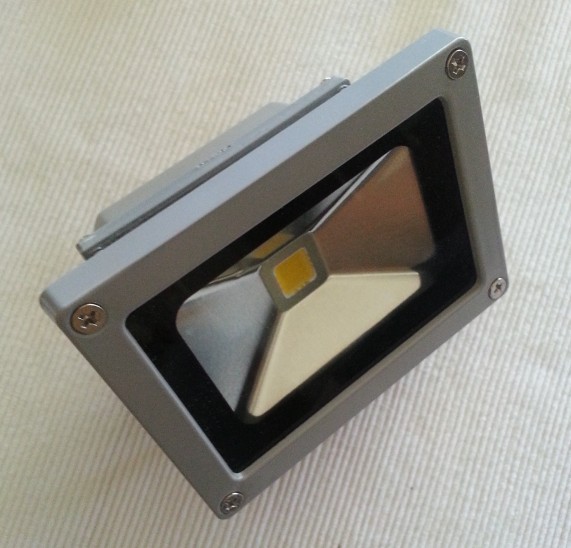
Lately, I have added a nice 12 Volt, 10W floodlight on the outside of the shed above the door, and although it draws 1.2 Amps, it lights up half the yard. It was really nicely built, and available at Banggood or DealExtreme. Of course, one of these could be your inside the shed light too. It’s plenty bright enough, but I like the look and light from the conventional looking bulbs better.
So, because I saw an ad on one of the “Direct from China” websites for a 12V powered radio frequency operated programmable relay board for the amazing price of just $16, I just had to add it to my shed lighting project.
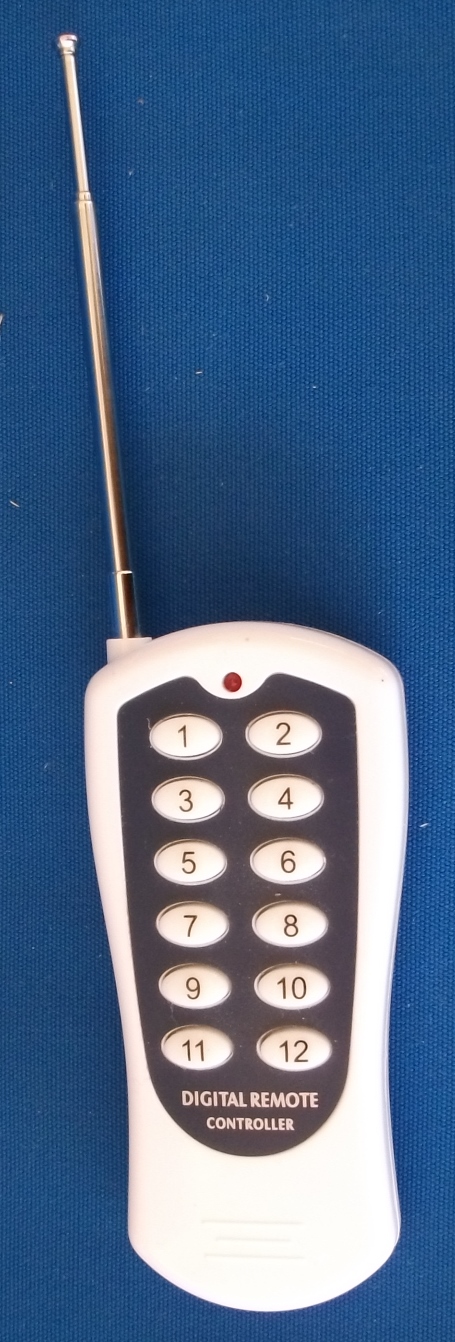
The unit comes with a cute little hand held remote, with a 70’s era telescoping antenna on top. As you can see, there are 12 buttons, which means you can control 12 separate relays on the receiver board, allowing RF control for 12 individual circuits. The circuits (relays) can be programmed into any of 4 different modes, like “Sequential, Momentary Contact, Latching, or Momentary Sequential,” but for this purpose of turning lights on and off, “Latching” was the right choice.
The receiver board has 12 separate 12V relays each with a little 3 screw terminal strip in close proximity, and requires a constant 12V power and ground supply.

You send current for each light circuit into the center terminal of each relay’s corresponding terminal strip, and then wire the lamps to the “Normally Open (N.O.)” terminal on each relay. Since this is all LED lighting, the wire gauge that fits comfortably into the little terminal strips is plenty heavy to carry the lamps’ load current.
Once you program the receiver board to “Latching” mode, then all that remains is to just push the button on the remote for the light circuit you want to turn on, and instantly, the corresponding relay closes, and the light comes on. Hit the same remote button again, and the light goes off.
Range is a remarkable 150′ with the antenna on the remote extended, and I’d bet if you pulled the receiver board antenna wire out away from the structure, you could control it from even farther away.
I am running 4 lighting circuits; the 2 conventional looking ceiling lights on a single circuit, an inside front wall mounted light that consumes very little power but gives enough light for looking for something so it can be left on a long time while working on the pool, and a flood light on each end of the shed at the gable. The floodlights consume 10W, so they pull the storage battery down more quickly, but the one on the front of the shed casts enough light that you can easily work around the pool at night.
So, there you have it. Any questions or comments, add them below. Thanks!!